
If your Pipedrive account does not have a suitable field to capture a custom field such as Firmable ID, you can create a custom field using the following instructions.
The following steps are focused on creating a custom field for organisations. The same steps can be repeated for people and leads.
Prerequisites
Before creating the custom field, ensure the following:
- You are on a Small Teams, Teams Pro or Enterprise plan with Firmable.
- You have the Admin, Manager or Integration role on Firmable and the Admin role in Pipedrive.
Custom field setup
- Click Contacts.
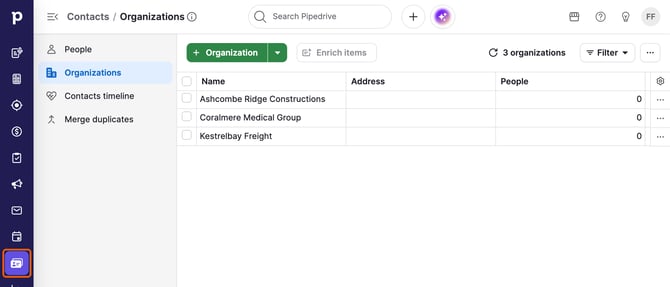
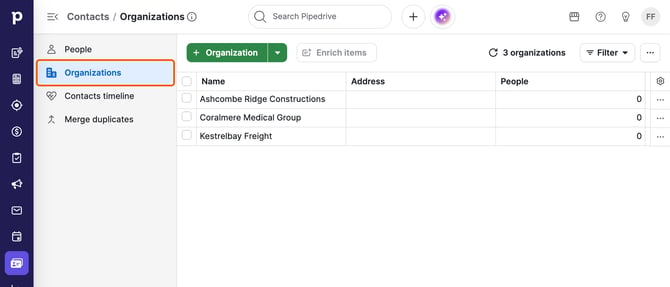
- Click Organizations.
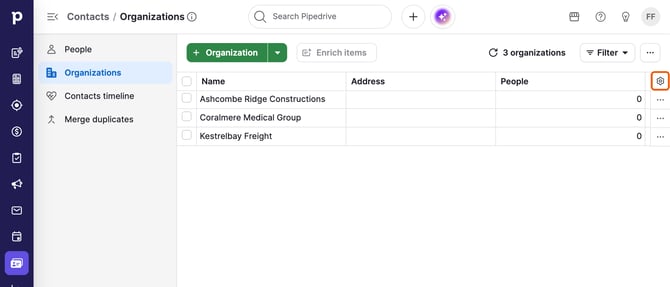
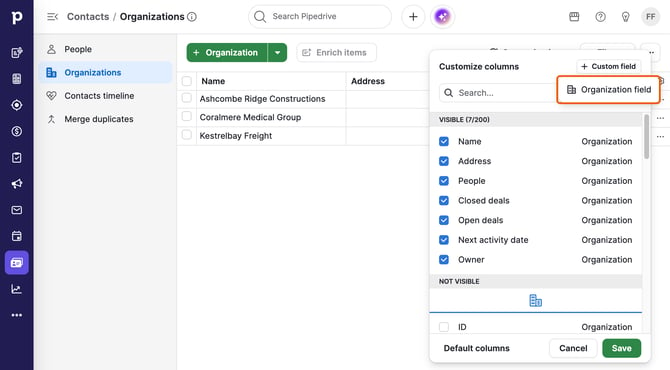
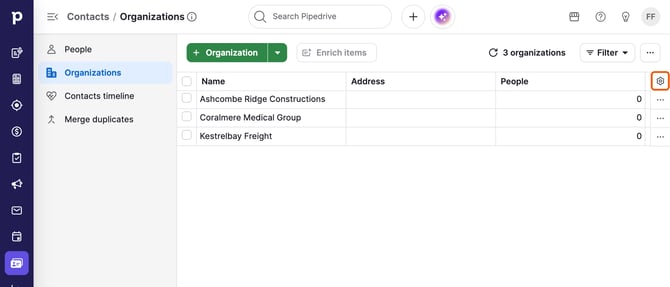
- Click Customize columns.
- Click + Custom field.
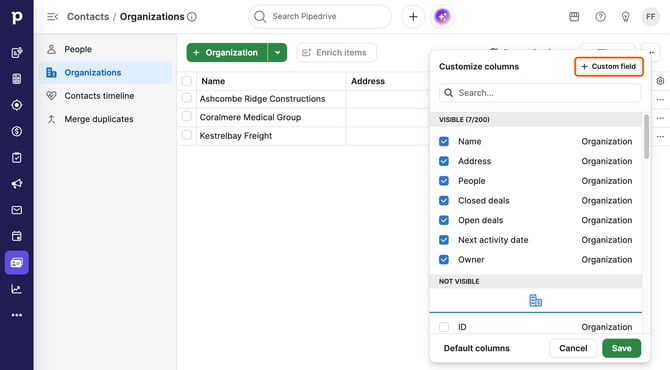
- Click Organization field.
- Fill in a Field name, set the Field type to Text and, under Show on, tick Organization add view.
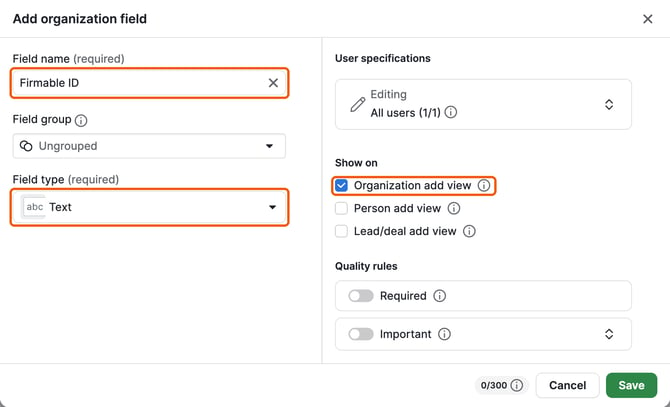
- Click Save to create the field.
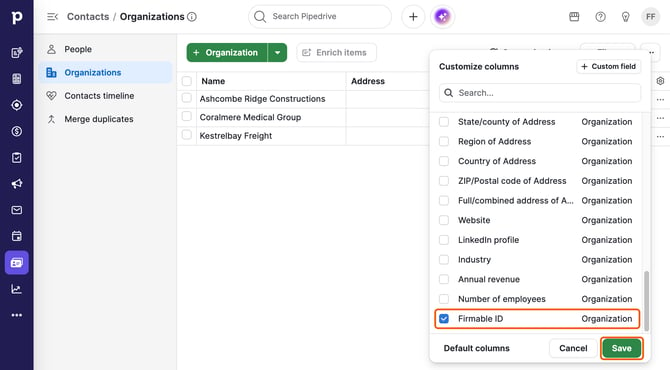
- Click Customize columns again.
- Scroll to the new field under Not visible, tick it, then click Save to show it as a column.
Learn more:
How to connect the Pipedrive integration